
We Say
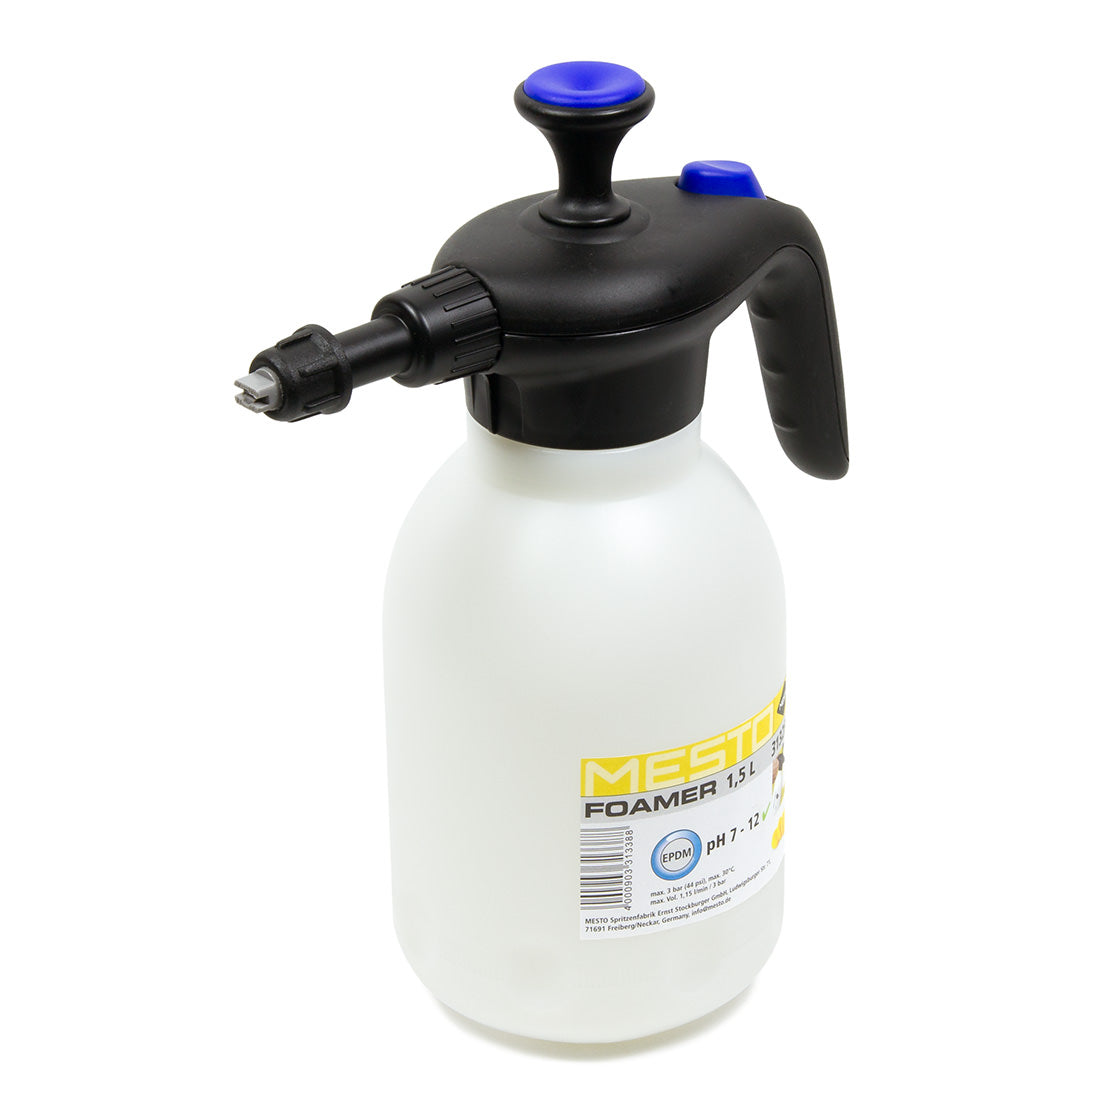
If you fancy the idea of being able to snow foam localised sections of your car (e.g. individual panels or small sections at a time) without the aid of a dedicated foam gun or foam lance, then the MESTO FOAMER Pressure Sprayer deserves your attention. This is because it is a pressure sprayer with a difference; by using a spray lance with a foaming nozzle, it aerates pre-diluted snow foam solutions and expels them as thick, clinging foam, the quality of which can be easily modified by varying the number of fleece pads installed in the spray lance. We've tested the MESTO FOAMER Pressure Sprayer with all of the snow foams we stock and, as long as you dilute them correctly, it works really well with all of them. Although it doesn't have the capacity to foam entire cars in one go, it's very hand for localised tasks.
Key Features
Adjustable Spray PatternNo(Fixed Arc)
Capacity1.5 L(To Maximum Fill Line)
Foaming Potential8/10(Compared To Others)
Description
The MESTO FOAMER Pressure Sprayer is manufactured in Germany, and is designed to enable snow foams to be used in situations where it is either impossible or undesirable to use foams gun or foam lances connected to mains-fed delivery systems (i.e. hose pipes or pressure washers). The MESTO FOAMER Pressure Sprayer features a high-density polyethylene (HDPE) tank, which is chemically resistant and clearly graduated, and a polypropylene (PP) pump with a foaming spray lance and a built-in pressure release valve. The MESTO FOAMER Pressure Sprayer is supplied with ethylene propylene diene monomer (EPDM) rubber seals, which makes it base resistant and thus perfectly suited to use with the vast majority of snow foams currently on the market, which are typically detergent-based and thus alkaline in nature (pH 7-14).
Specification
| Adjustable Flow Rate | No |
|---|---|
| Adjustable Spray Pattern | No |
| Capacity | 1.5 L |
| Chemically Resistant | Yes |
| Construction | High-density polyethylene tank and polypropylene pump |
| Foaming Potential | |
| Maximum Water Temperature | 30°C |
How To Use
Assemble according to the supplied instructions, making sure that all of the connections are nipped up tightly enough to form a leak-free seal, but not so tight as to damage the plastic threads. To ready the sprayer for use, turn the pressure release valve on the side of the pump until any residual pressure is released. Then unscrew the pump and fill the tank with a diluted snow foam solution up to the filling line (we provide recommended dilution ratios for all of the snow foams we stock; see the Specification section on the relevant product pages for details). Finally, screw the pump on to the tank and pressurise the system (using 30-40 pump strokes). To spray the snow foam, press the button atop the handle on the pump; releasing the button stops the spraying action immediately. If the foam is too thick and stringy (despite the correct dilution ratio being used), unscrew the foaming nozzle and remove one or more of the fleece pads from the spray lance (reducing the number of pads reduces the aeration rate, which decreases the thickness of the foam). After use, depressurise the system using the pressure release valve on the side of the pump, unscrew the pump, empty the tank, refill the tank with water, screw the pump back on to the tank, repressurise the system (using 30-40 pump strokes) and press the button atop the handle on the pump to spray the water continuously until the tank is empty (this will flush out the fleece pads and prevent any foam residue from drying within them, which otherwise has the potential to disrupt foaming performance in the long run). Finally, depressurise the system using the pressure release valve on the side of the pump; never leave the system pressurised while in storage, and never depressurise the system by unscrewing the pump from the tank.
Notes on dilution:
Making up diluted solutions is a relatively easy task, but it's worth noting that some confusion can arise from differences in the way that car care product manufacturers quote dilution ratios. Strictly speaking, dilution ratios should be quoted as the number of parts of original chemical in the total number of parts of diluted solution. Accordingly, a dilution ratio of 1:10 would be achieved by making up a solution containing one part neat chemical and nine parts water, i.e. ten parts in total (giving a dilution ratio of one in ten). However, it's far more common for manufacturers to quote dilution ratios in parts dilutant to parts original chemical. Accordingly, a dilution ratio of 10:1 would be achieved by making up a solution containing ten parts water and one part neat chemical, i.e. eleven parts in total (giving a dilution ratio of ten to one). It contrast to the strict definition, this produces a slightly weaker solution, and for this reason we recommend that this latter interpretation is adopted whenever doubt about the ratio arises, as it's far safer to work with a solution that's too weak rather than one that's too strong.

